Travel Blog

HOW TO SKILLFULLY SETUP YOUR WEBSITE IN 2021?

After you are done creating a domain name for your travel blog, it is now time to set up your website. However, if you are not aware of the initial steps, you should refer to the previous blog. We have precisely mentioned how to start a travel blog in 2021 in detail. Moreover, we suggest that following those steps will make your work even easier. Moving further, there are four more important steps that you need to get familiar with to have a successful travel blog. Firstly, let us bullet down the previous steps before starting the next ones. Following are the first four essential steps in the creation of a travel blog in 2021.

  • Step 1: Decide a Name
  • Step 2: Sign-Up for a Host
  • Step 3: Install WordPress 
  • Step 4: Learn the WordPress Dashboard Basics

If you have referred to the previous blog, then you know these steps in detail. If not, then don’t wait up and quickly check on these steps there. After recognizing the first 4 crucial steps, let us begin with setting up your travel blog website. Read along and find out what you should do to run a successful travel blog.

Welcome to

ONE TICKET PLEASE!

Hey Folks! I am Kaustubh! Founder of ‘One Ticket Please’ and I welcome you to my website. Here I present you with my travel experiences and adventures. To give exquisite details about the way to reach the destination and also pinpoint the ethnic attractions.
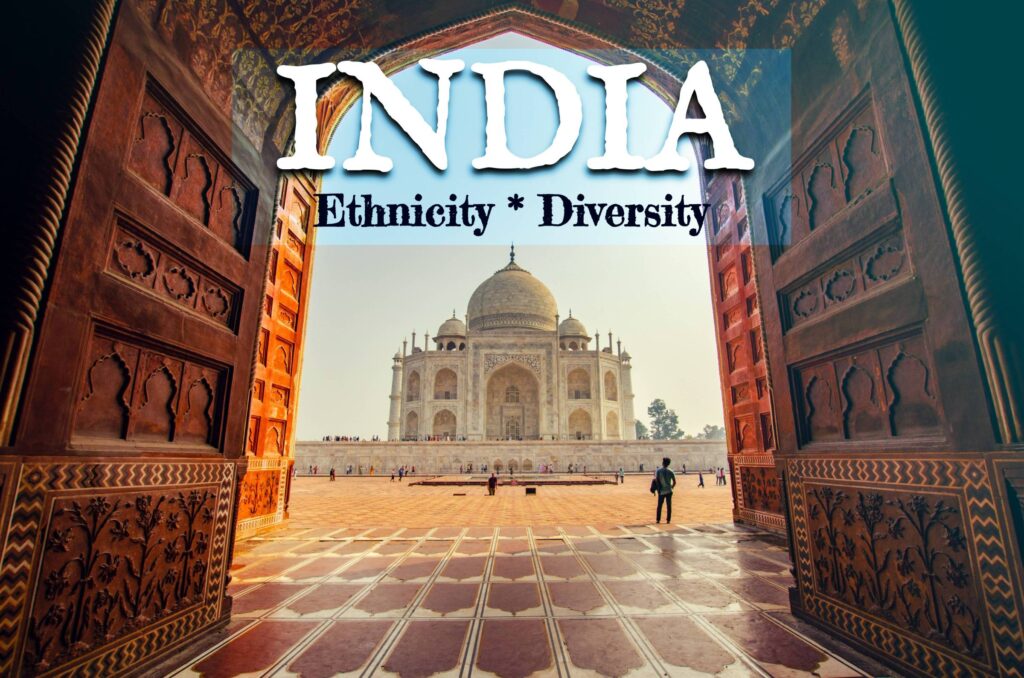
Step 5: Install The Plugins

Now that you are familiar with the WordPress dashboard(refer to step 4), you might have navigated through it. The dashboard has various options but we are now interested in one particular option, i.e. “Plugins.” These plugins bring additional functions to your website along with security and privacy. This helps your website to run smoothly. There are free plugins as well as paid ones, and some are pre-installed. However, do not forget to check if every plugin you install is compatible with the latest version of WordPress.

Moreover, there is no need to flood your site with a lot of plugins. Install only those which are useful. This might take some time for you to understand what works best for your website. Keep experimenting and you will soon figure it out. Nonetheless, the fact that some of the plugins are essential for the proper functionality of your website should not be ignored. Following are the most appropriate and useful plugins that you must have:

Search our website here !

Explore INDIA

The changing wave of traditions in each part of India makes it even more delightful and fascinating. A journey to incredible India will put an unforgettable and vibrant impression on you forever.

1. YoastSEO

SEO stands for Search Engine Optimization. We will be creating a detailed blog post about SEO soon that will help you understand it better. So, YoastSEO helps to develop your blogs in such a way that your site will rank on top. Every blog post must have a meta description, a keyword, and tags. This plugin helps you to create all of this with ease. Moreover, it is user-friendly and very simple to understand and work with.

2. Akismet

You must be clearing spam emails or cache from your mobile or laptop, but how will you do the same for your website? Because the junk and unnecessary files can slow down your website, Akismet is a perfect solution to that. Furthermore, this plugin filters out the comments and other things and gets rid of junk on your website.

3. BackWPup

Since you will be creating new content every day, there is a need to have a backup for your data. You will start earning from the site someday and you do not want all the content to just vanish due to technical issues. So, it is better to have a backup using the BackWPup plugin. Furthermore, you can try out other backup plugins as well and see what works best for you.

4. Google Site Kit

This is by far one of the best ways to track the performance of your website. You will require Google Analytics, Google Console, and Adsense(when your site is ready to make dollars). It would be troublesome to operate three different things. So why not have them under the same roof? You should install the Google Site Kit plugin and have your site linked to all the above-mentioned Google services. This will help you improve the performance of your site to a better extent.

To install any plugin, just go to WordPress Dashboard and look for the plugin option. Then click on the “new plugin” option and search the required plugin in the search bar given to the right.

Explore the best:

notepad, tablet, table

Step 6: A Theme For Travel Blog

While working on a website, creating quality content is not the only thing you should look after. Your work needs to be presentable and impressive to attract more traffic. Apart from this, your website must be easy to surf and navigate through. Therefore, a successful travel blog must have a suitable design. This is where the themes come into the spotlight. There are various WordPress themes that you can install and apply to your site. Apart from this, you can try out other themes as well. 

Moreover, there are various plugins you can install to avail yourself of the different themes. Also, if you are ready to spend some money on the design of your website, then you can choose from the premium themes. Another option is getting the site customized by a professional. However, you must be comfortable working with that theme. Most importantly, the theme must serve the purpose of your site and should not confuse the visitors. Keep it simple yet elegant.

Finally, there is no compulsion on using the same theme forever. You can change the theme later if you want. It would be just an adjustment and switching positions of some elements on site, but the articles won’t be affected. Furthermore, make sure you choose a professional theme and not something that seems too fancy. 

Step 7: Blog Must Have A Logo

If you are thinking that only a domain name will make your site stand out from others, then you might be wrong here. The site requires a unique logo to go with. Consider this to be a symbol that will help people recognize that this site or blog belongs to you. Moreover, now is the perfect time to get creative and build a logo for your travel website. You can take the help of various tools like Canva, PicsArt, or Fiverr to create an amazing logo. Keep in mind the design of your site and the theme colors. This will eventually help you decide the color theme for your logo. 

Since the travel niche is vast, it is important to cut down to the specifics. This means that you should be clear about what your site focuses on and the kind of content you will deliver. This will help you to build your logo precisely. The audience you are trying to target will quickly feel more appealed to your website just by the logo. Thus, you must think it through and generate a logo for your travel website. You can certainly look for inspiration and then draw out what looks best for you!

Step 8: Essential Static Pages For Every Travel Blog

After designing the website, your site must be presentable and elegant. However, to add a more professional touch to your blog site, this is what you should do. On the WordPress Dashboard menu, you will come across the option of Pages. This will help you create the main page of your site and various such pages. Firstly, a website has the main page or the Home Page that will clearly state the concept and purpose of any particular site. Therefore, you should put some more effort into it. This way, users can navigate through your site and will find all the information they might need. 

Secondly, there are various other pages that any professional website must-have. These include the About Us, Privacy Policy, Disclaimer/Disclosure, Terms & Conditions, and Contact Us pages. Briefly noting, About Us and Contact Us pages will help you get in touch with the users. They will know more about you and they can reach you through the contact forms. Furthermore, the other mentioned pages or what we call the “Legal Pages” are a must. Every website should have its terms mentioned and privacy policy led down clearly. This not only makes you look professional but also saves you from getting in unnecessary trouble. Do not forget to create these pages and mention them on the Home Page as well.

Step 9: Start Sharing Your Stories!

If you followed all the steps that are explained here, then pat yourself on the back and let us congratulate you!! The basic setup of your travel blog is already done and now you are good to go. There is always more to do and you can improve the site as you go along. However, the first thing you now have to do is write your first blog and start sharing your stories! Now is time to create your travel-related content and work on various topics under your niche. 

You can post 2-3 blogs per week as you start and then pick up the pace. Moreover, you must stay up to date with the content you are going to deliver. You must always prefer quality over quantity. Make sure that your content keeps the audience engaged and helps them learn new things with your experiences. With this being said, your site is now ready to go live on the internet. You will learn new things every day as a blogger. 

The next time you visit our page, there will be an interesting strategy tutorial about optimizing your website and making quality content. If you want to create content that goes viral, then stay along as the next tutorial will teach you all about it. Till then, you can start to share your stories and experiences with the world! (That’s where the real fun begins!) Don’t let the tech scare you. We didn’t know much when we started. We too were clueless and had to teach ourselves how to do this. If we can do this, you can start a blog too! I believe in you! (Email us if you want more encouragement.)

Happy Travel!

Explore

the World with OTP!

Also, check out our other Blogs

1 thought on “TRAVEL BLOG: HOW TO SKILLFULLY SETUP YOUR WEBSITE IN 2021?”

Leave a Comment

Your email address will not be published. Required fields are marked *